Get Started
Diffusion simulation usually follows the following procedures.
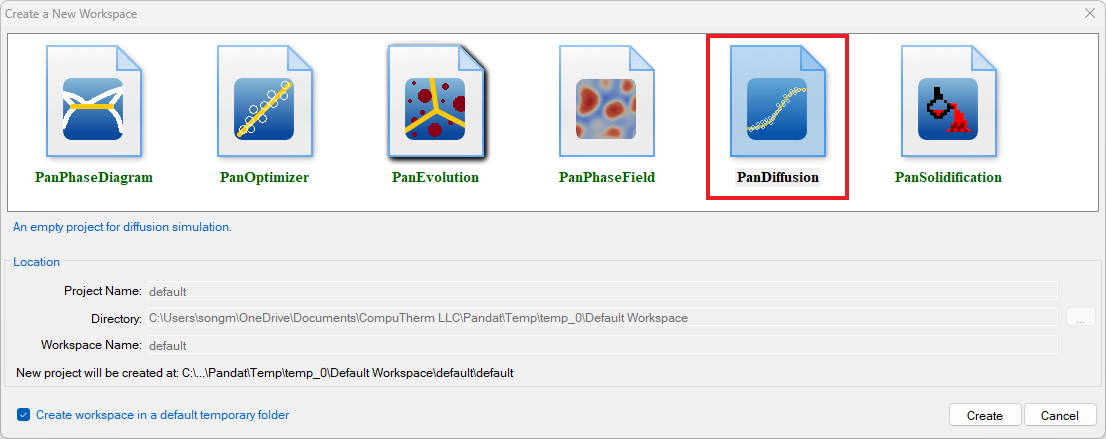
Create a PanDiffusion Project
User can create a PanDiffusion project through menu “File → Create a New Workspace” or “File → Add a New Project” in an existing workspace. The “Module Window” pops out for user to choose a module for the new project as shown in Figure 1. Choose “PanDiffusion” module for diffusion simulation, and the PanDiffusion project will be created after user click on Create button or double click on the PanDiffusion icon.
Load Thermodynamic and Mobility Database
The next step is to load the database, which is FeCrNi.tdb in this example. Different from the normal thermodynamic database, this database also contains mobility data for the phases of interest in addition to the thermodynamic model parameters. Both are needed for carrying out diffusion simulation. By clicking the ![]() icon on the toolbar, a popup window will open, allowing user to select the database file.
icon on the toolbar, a popup window will open, allowing user to select the database file.
Start PanDiffusion Module
Perform diffusion simulation through the menu bar (Figure 2) or the tool bar icons (Figure 3). PanDiffusion deals with diffusion process in two strategies, Settings in General Diffusion Simulation and Settings in Particle Dissolution Simulation.

